
Each store (or global dashboard) can have multiple users, depending on their needs.
Each user can be assigned permissions, which can limit the amount of information that user has access to, or the changes they can make.
We have two types of User permissions settings available. Each store comes with the ‘standard’ setup below, however if you have more complex user permission needs you might be interested in our ‘advanced’ setup.
Creating a new user
-
Log into your dashboard.
-
From the menu on the left, select “Manage Users”
-
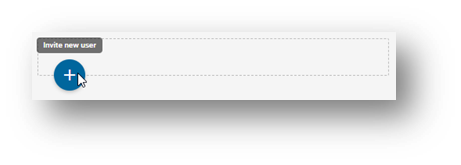
Click the + button to add a new user:
-
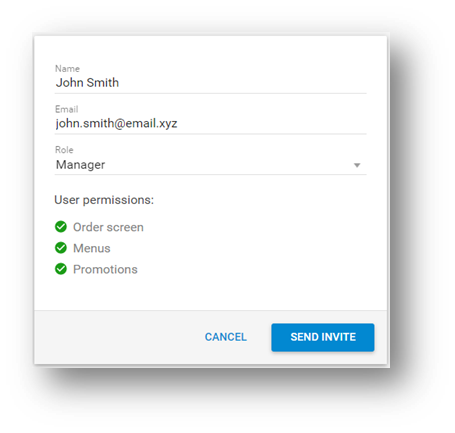
Fill out the name and email, and select a role for the new user. Based on the role you selected, you’ll see the various permissions that will be available to that user.
-
Click “Send Invite”. The user will receive an email with a link that they need to click in order to finish setting up their account - including choosing a password.
-
Once they complete their account setup, they can now log into the dashboard and the orders page, depending on their permissions.
Please note only Administrators can action refunds on your dashboard.
Resetting your password
-
Go to QikServe
-
Click on the button labelled “I forgot my password”
-
Enter your password and click “Reset Password”. You will then receive an email titled “Reset your password”. Please keep in mind that the email can take a few minutes to arrive - please wait for the email rather than submitting multiple requests in a row.
-
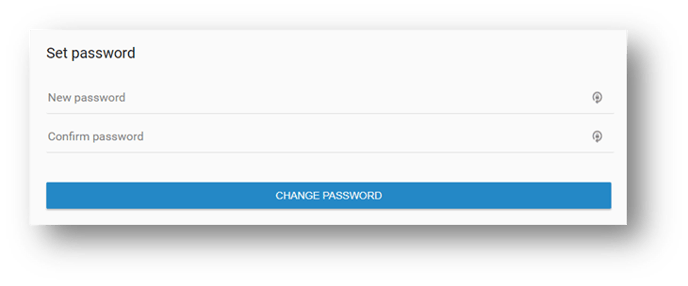
The email will contain a link allowing you to set a new password:
-
Set your new password.
Password reset links do expire for various reasons - if too much time has passed since the request has been made, if the password reset link was clicked before but the page didn’t load properly etc. If your code has expired, please simply follow password reset process again.
Removing a user
-
Log into the dashboard, and go to “Manage Users”
-
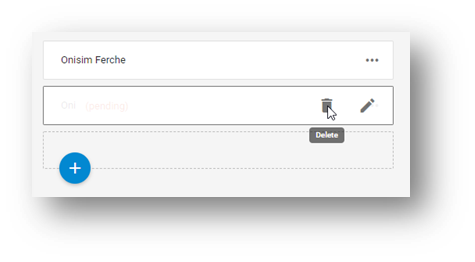
In the user list, hover your mouse over the three dots on the right, and then click the “Delete” button:
-
A confirmation pop-up will appear - click “Delete” again to confirm the change.
-
Once a user is deleted, they will no longer have access to the dashboard. If you need to restore their access, you would need to create a new user and invite them again.