Tags allow you to create a pop-up message (with optional external webpage hyperlink) which alert the customer when they select an item from your menu.
The Tag can be applied to a whole menu section so that any item in that section causes the pop up message, or to a singular item only. The pop up can be set to appear when an item is added to a basket or to the check-out page, and you can select the frequency that it is displayed per transaction also.
How to configure tags
Create a Tag and a Tag Action:

-
From your QikServe Dashboard select 'Tags' on the left hand side menu, and then 'My Tags'
-
Click the blue circle with the '+' inside it to create a new Tag, and give your Tag a name - e.g. Alcohol
-
Next click on ‘Tag Actions' on the left hand side under 'My Tags’
-
Click the blue circle with the '+' inside it
-
Under the 'Basics' tab,
- Give the tag action a name - this is not customer facing
- Add a message title to display on the app e.g. 'Under 25?' - this is customer facing
- In the message body enter exactly what you want the message to say
- Then search for the tag you want this tag action associated with. This will be the name of a tag you have created under 'My Tags'
- Select whether you want the tag to trigger at the basket stage or at the checkout
- Select the frequency of the tag action; it can be Once only / Once per order / On every trigger
-
Under the ‘Advanced’ tab you can link to a webpage e.g. in this case, perhaps the Drink Aware website would be suitable. This isn’t a required step but is optional.
-
Click 'Done' to save.
Applying the Tag:
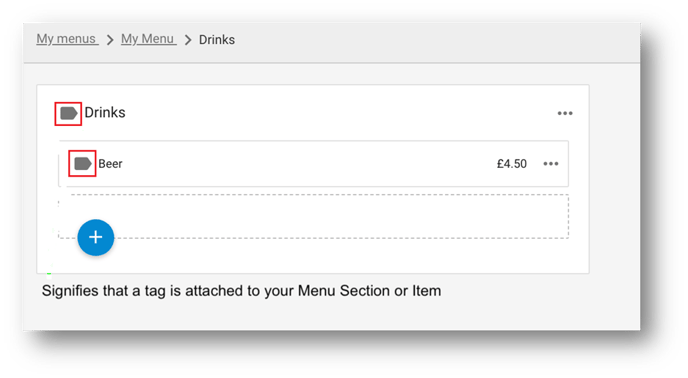
You can add a tag either to a menu section or individual items.
- To add to a section follow the below
- Click on 'Menus' and then 'My menus'.
- Click on the menu you want to add the tag to and this will bring up the list of sections
- Scroll over the three dots next to the relevant section and click on 'Edit'.
- Under the 'Basics' tab, search for the tag you created under the 'Tags' field. Once you have found it, click on it to add the tag to the menu section.
- Click 'Done' to save.
- To add a tag to specific menu item
- Click on 'Menus' and then 'My menus'. Click on the relevant menu section and find the item you want to add the tag to
- Scroll over the three dots on the right hand side of the relevant menu item and click on 'Edit'.
- Under the 'Basics' tab, search for the tag you created under the 'Tags' field. Once you have found it, click on it to add the tag to the menu section.
- Click 'Done' to save.
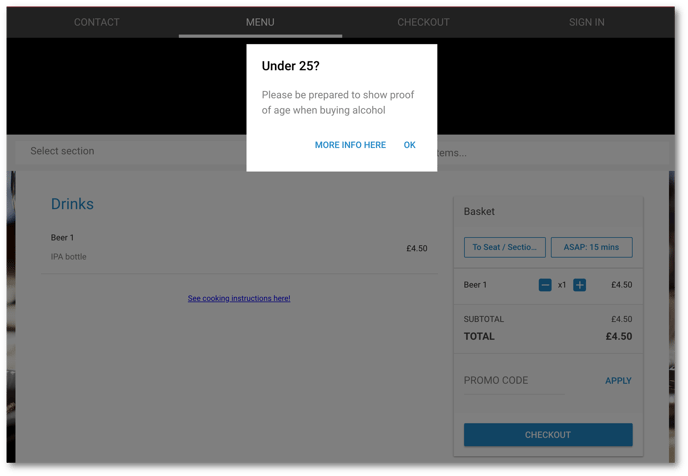
Once a tag has been added to a menu item or section, it will activate a pop up box for the customer based on when you have selected it to trigger.
As it looks for the customer: