This article will show you how to set up a printer via Google Chrome
-
Place a demo order on your mobile/online ordering platform
-
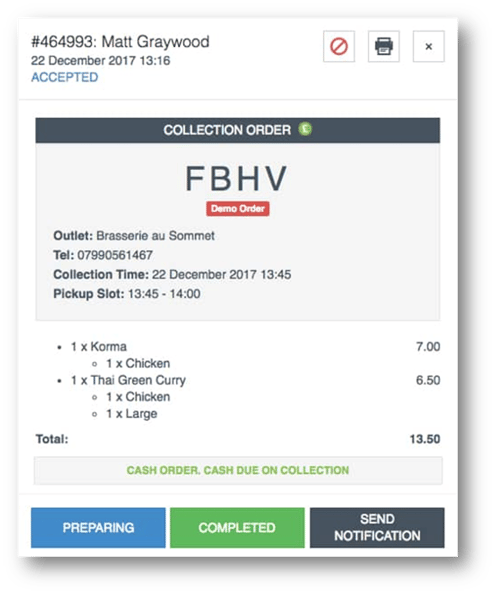
Click on the demo order - a pop-up screen will appear:
-
Select the print icon/print on the top right of the pop-up to see options
-
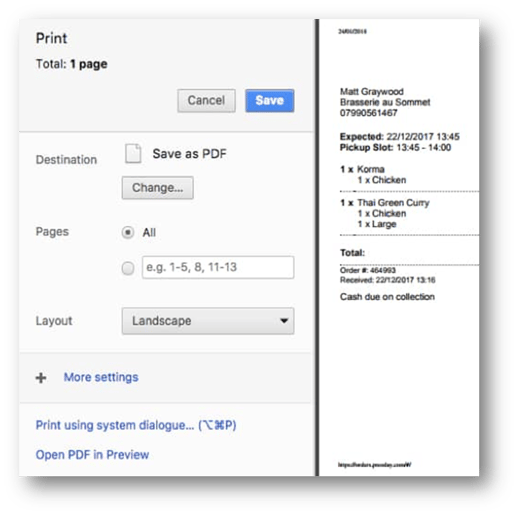
Make sure you have the correct printer selected
-
Click '+ More settings'
-
Choose your paper size - this is likely to be 72X receipt
-
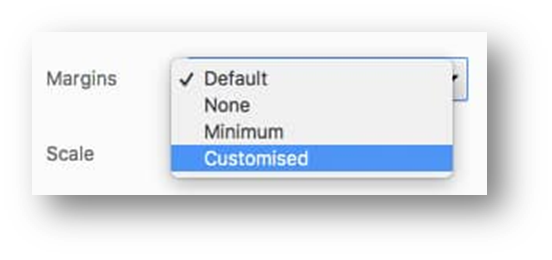
Set Margins to 'Customised'
-
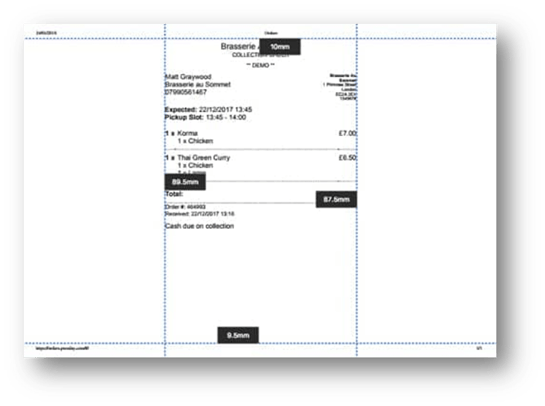
Drag blue lines on the print preview to set custom margins
-
You may need to try a few different print sizes and run trial prints to get the correct dimensions for your printer
-
Return to the order screen
-
Go to 'Settings' on the Expo order screen (to find 'Settings', first click on your store name as it appears in blue on the top right of the screen. 'Settings' will appear as a drop down)
-
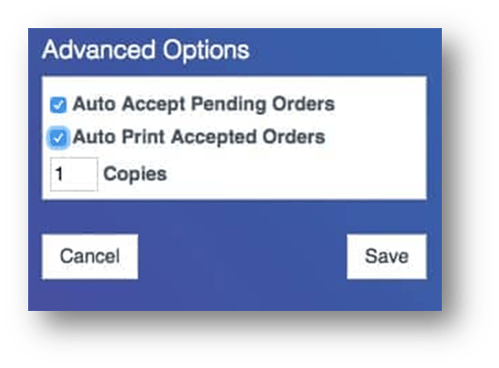
Under 'Advanced Options' tick Auto Accept Pending Orders and Auto Print Accepted Orders
-
Select the number of copies of each order you want to print
Adding Shortcut to Desktop
-
Open the Start menu on your windows device
-
Type "Google Chrome" into the search bar.
-
Right-click Google Chrome and select 'Open file location'

-
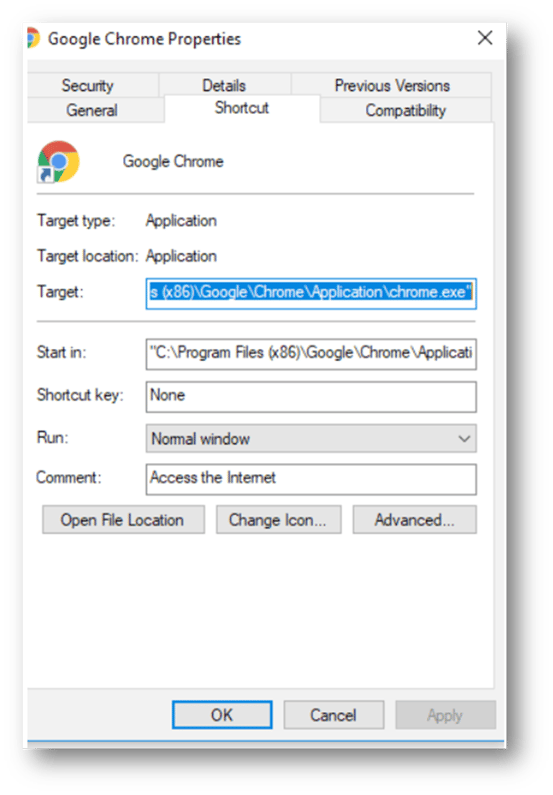
Right-click the Google Chrome icon, then click "Properties".
-
Go to Google Chrome Properties —— Shortcut
-
After the Target argument add in a space then add:
1--app=https://help.qikserve.com/ --kiosk-printing --disable-gdi-text-printing -
Click Apply
-
This will lock in the setting you have just made
-
Do not use this shortcut for anything else other than the orders coming, also do not have any other Chrome screens open
