Guest conversion is a tool to encourage users who have signed up using guest checkout to create an account
Please be aware that this feature is currently in its BETA phase. If you would like to learn more about it or have it activated on your store, please reach out to us by sending an email to support@qikserve.com.
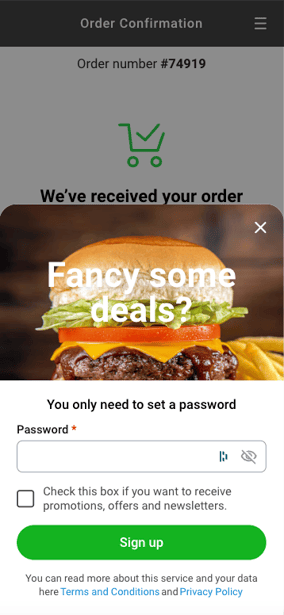
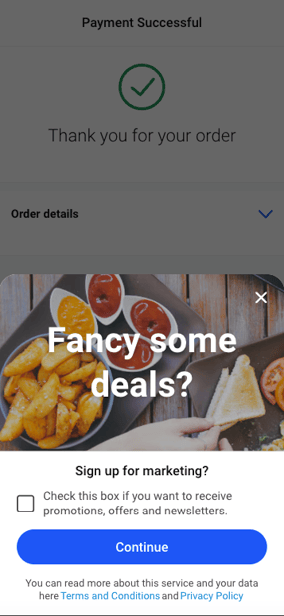
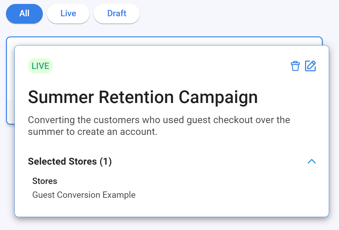
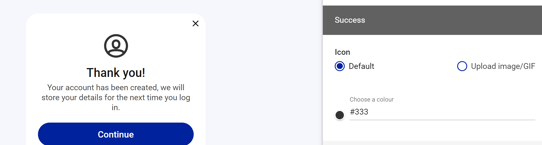
Example:
How to use Guest Conversion
Please Note: This feature currently only works for Web View using the Online Ordering and Pay at Table products and requires a Global Dashboard.
Step 1 - Creating a new campaign
To create a new campaign head to your Global Dashboard > Marketing > Guest Conversion.
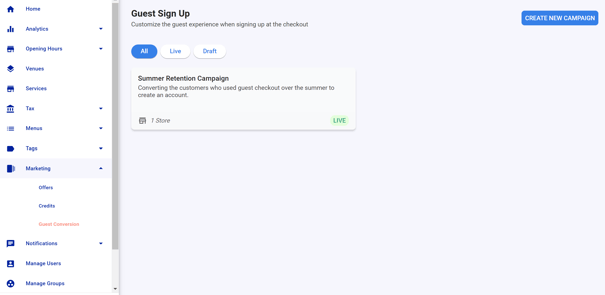
Here, you will be able to see:
- all campaigns,
- all Live campaigns
- all Draft campaigns
You can also edit and Delete Campaigns from the screen, simply select the campaign and you will be shown a Edit (Pencil) button and Delete (Bin) button.
To begin Creating a campaign select the "Create New Campaign" button.
Step 2 - Customising your campaign
Once you have started creating your campaign you will be shown this screen.
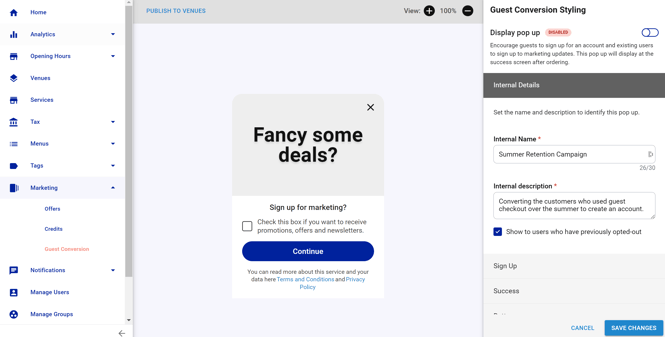
Toggle the display pop-up on or off - When enabled, the campaign will be activated and visible to all customers as they navigate through the ordering process.
Customization:
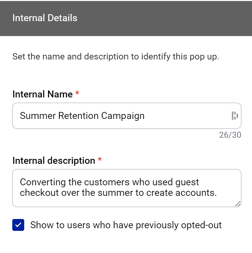
Internal Details - Here we can set the internal name and description these will only be viewable on the global dashboard.
There is also a check box to make sure the popup is shown to customers who have recently opted-out of marketing.
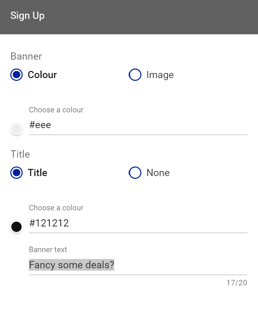
Sign Up - In this section, you can personalize the color scheme of the campaign and select the text and colors for the title banner. If desired, you can also opt to remove the title banner by selecting the "None" option.
Success- Upon successful creation of an account by the customer, this section will be displayed. You have the option to customize its colors or upload an image instead of text to enhance the visual appeal.
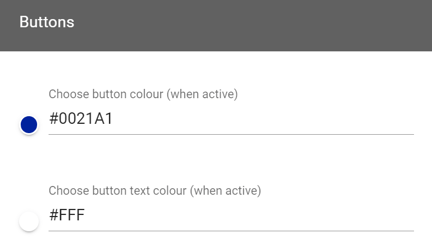
Buttons - You have the ability to customize the colors of the buttons and the text displayed on them when they are in an active state.
Step 3 - Applying the campaign
After you have customized your campaign, remember to click on the "Save Changes" button to apply your modifications.
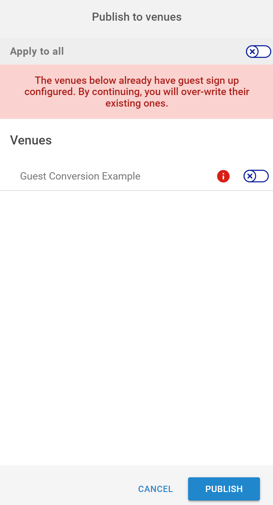
To make this campaign active for one of your stores select the PUBLISH TO VENUES button at the top.
You will then be shown this screen which should list all the stores you have under that Global Dashboard, here you can select which ones should have the campaign and then click the publish button to make active.
Also this message will appear if a store already has a campaign published to it.
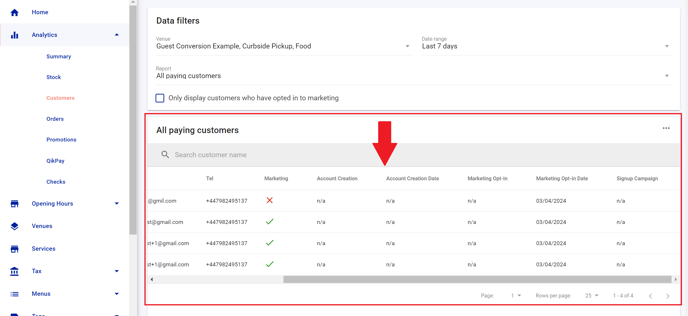
Reporting
This feature will add new columns to the Customers analytics page, these will show:
Account Creation: Which part of the journey did the customer create an account
Account Creation Date: when the user created an account
Signup Campaign: Which campaign the user used to signup
Marketing Opt-in Date: "Last updated" date for user's marketing opt-in preference
Marketing Opt-in: Which part of the journey did the customer accept marketing