
Once you have created your Collection Slots you are able to create a new event.
Follow these steps below and you will be able to see your event listed for the appropriate dates on your store's orders page (if it is open for pre-orders - see step 4 of Create a new event).
Create a new event
-
Navigate to your QikServe dashboard at QikServe
-
Go to Events > My Events and click the blue + sign to create a new event
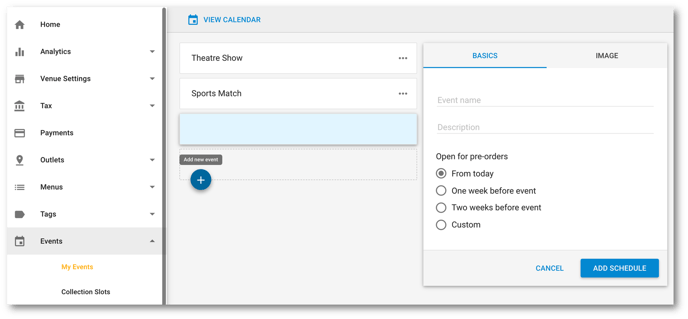 Each event needs a name and a description is optional
 -
Select when you want customers to be able to pre-order for in the list under ‘Open for pre-orders’; events won’t appear customer facing until that time. The latest you can set it to is 1 day pre-ordering via the custom button
-
Add an image on the Image tab following the upload specs outlined there
-
Click the blue Add Schedule button to get to the next stage
-
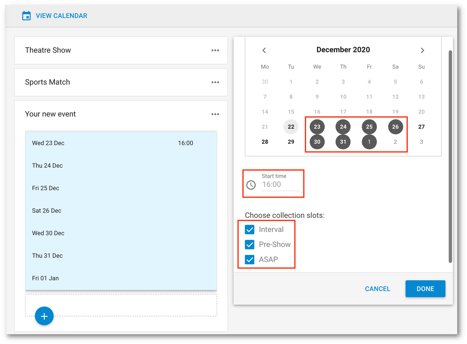
You will then be prompted to add the dates, start time and collection slots for your new event
-
When adding dates you can add multiple at a time by selecting all the dates you need, you will see them populate in the blue box under your event
-
Enter the time that you’d like your event to start
-
Select at least one of your Collection Slots
-
Click Done
Adding more times for a show
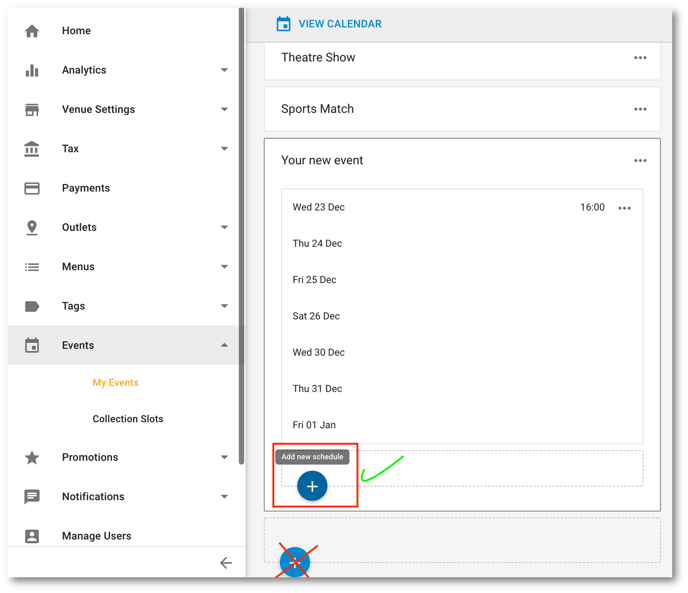
If you repeat the event at different times you can add a new schedule and select the dates that it applies.
-
Within the event that you just created you can click to add new schedule
-
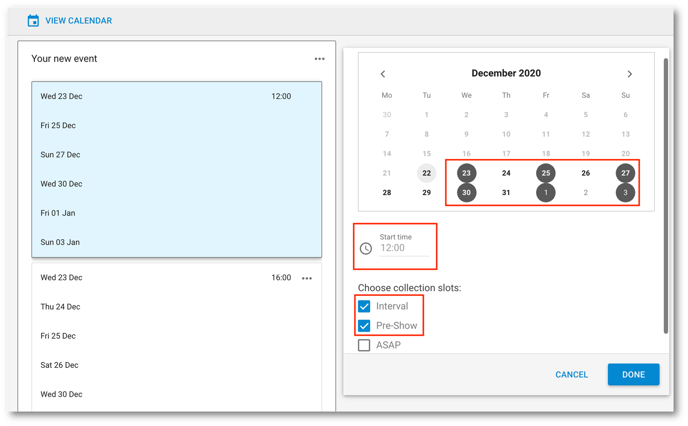
From here you can add the dates (same or different), set the time (different), and the collection slots (same or different)
-
Click Done
-
If your new event is open for pre-orders now then you can view the event on your store's ordering page