If you are interested in integrating your Bleep POS with the QikServe Online Ordering service, please follow the steps below to get you set up.
Setting up your Bleep integration
-
Request the following store-specific configurations from your Bleep account manager or reseller contact
serviceChargeId=
tenderFor(CASH)=
tenderNameFor(CASH)=
storeId=
priceId=
employeeId=
posTerminalNumber= -
Once you have this information, send it over to support@qikserve.com, letting us know when you would like us to carry out the integration, avoiding busy periods where possible.
-
In order to make this process as seamless as possible, please provide the name of your store(s) as it appears on your QikServe dashboard. This will help us correctly verify your account.
-
Menu Management
-
Your new Bleep menu will show under the ‘My Menus’ section. Whilst we strongly encourage integrated customers to make menu changes from their Bleep POS, some aspects of menu structure and display will need to be adjusted from your QikServe dashboard.
-
You may need to rearrange the menu sections in a way which you want it to appear for your customers. Similarly, from your QikServe dashboard you may be able to add display names, descriptions, VAT groups, images, allergens and item lead times to your menu items.
-
-
Once you are happy with how your Bleep menu looks, you will need to change the menu that appears to your customers. This is done by navigating to the dashboard then ‘Outlets' > ‘My Outlets’ then toggling the Bleep menu.
-
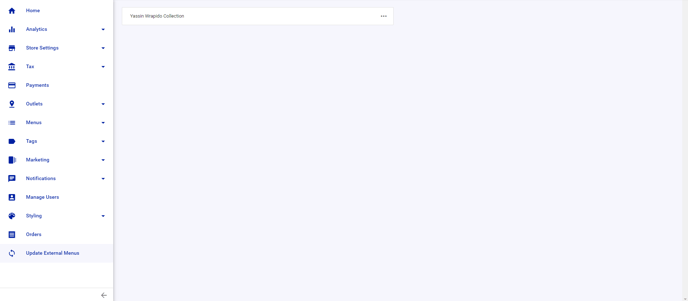
To update your customer menu with new items, you will need to create these items on your Bleep POS then sync your menus from your QikServe dashboard. From your dashboard click on ‘Update External Menu’ > ‘Sync Menus’.